Import the models
Android Studio 3.1 supports a new folder type named “sampledata”. This folder is used for design time sample data. For our purposes, we’ll keep the source 3D assets in this directory. Files in sampledata are not added to the APK, but available in the editor. To make sceneform compatible models, we’ll add the conversion tasks to gradle and add them to the assets directory so they are available at runtime.
Create the sample data directory by clicking on app in the project view and then right mouse click to find the menu item New > Sample Data Directory.
There is one example model of andy the robot that you can download here.
Extract the .zip and copy both files into the sampledata/models folder. If there is no models folder, create it by right-click on the sampledata-> New -> Directory. Type models as the name of the new directory and click on finish.
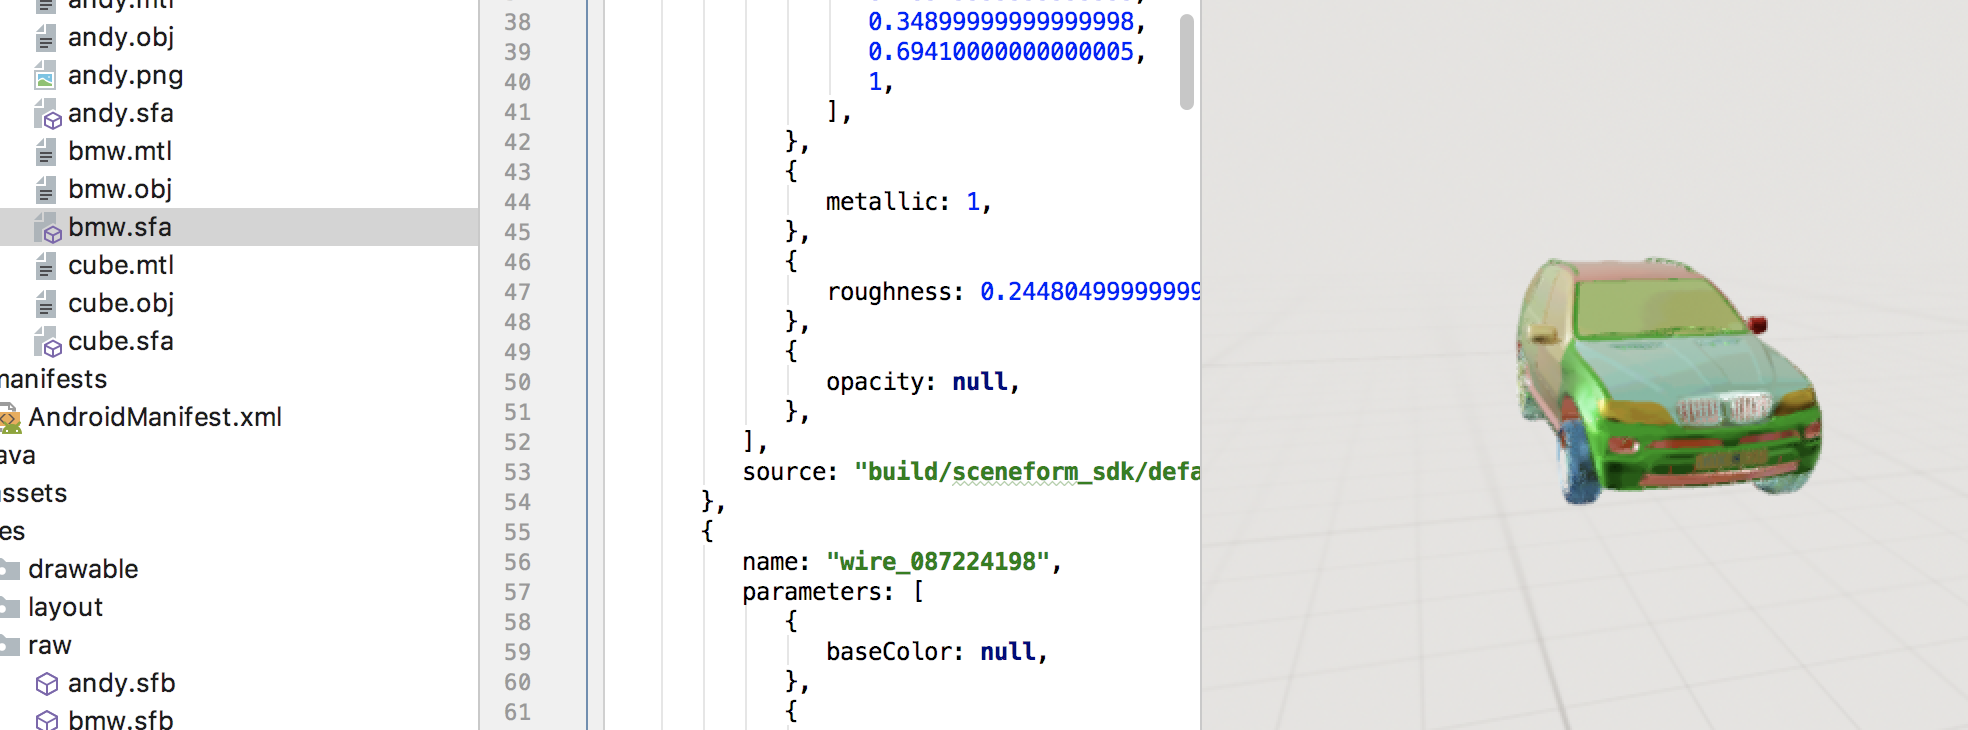
We’ll use the Sceneform plugin to add the conversion tasks to the build.gradle file and preview the models.
Select app/sampledata/models/andy.obj and then right mouse click to get the menu and pick New > Sceneform asset. This opens the import wizard page as shown here:
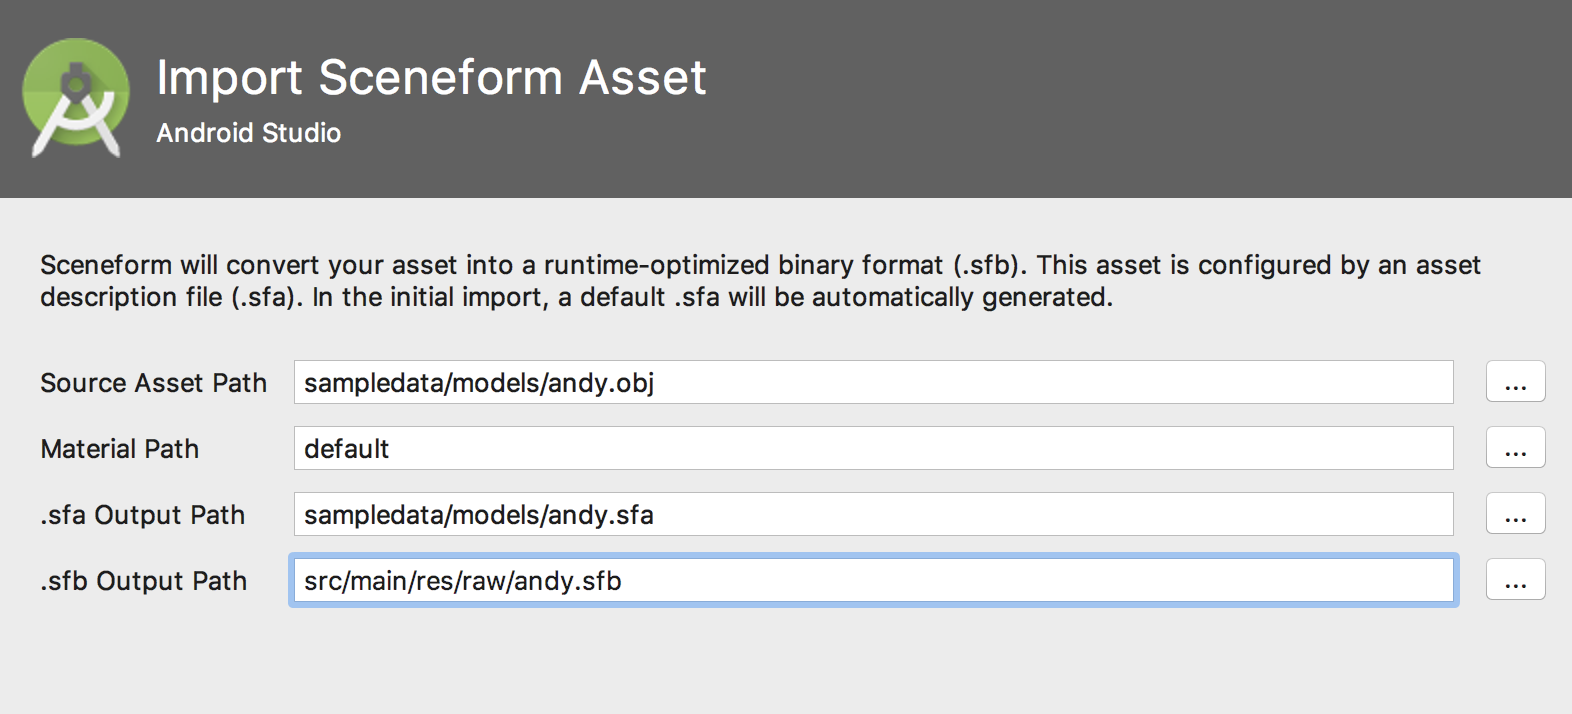
Make sure you set as output path the /res/raw folder so the import is easy using the R class (e.g. R.raw.andy).
If there is no /res/raw folder in your project, then create this first.
Important!!!
There is a bug with the current version of the Sceneform Plugin 1.4.0: it will generate models that can’t be loaded in the app. To overcome this use the old version of the plugin for generating the .sfa and .sfb files.
To install the old version got to your Projects build.gradle file and in dependecies {}
replace the
classpath 'com.google.ar.sceneform:plugin:1.4.x'
with
classpath 'com.google.ar.sceneform:plugin:1.0.1'
Then clean and rebuild your projekt and regenerate the .sfa and .sfb files.