1/14

ARCore

Sceneform basics

2/14

Agenda

3/14

Sceneform Plugin

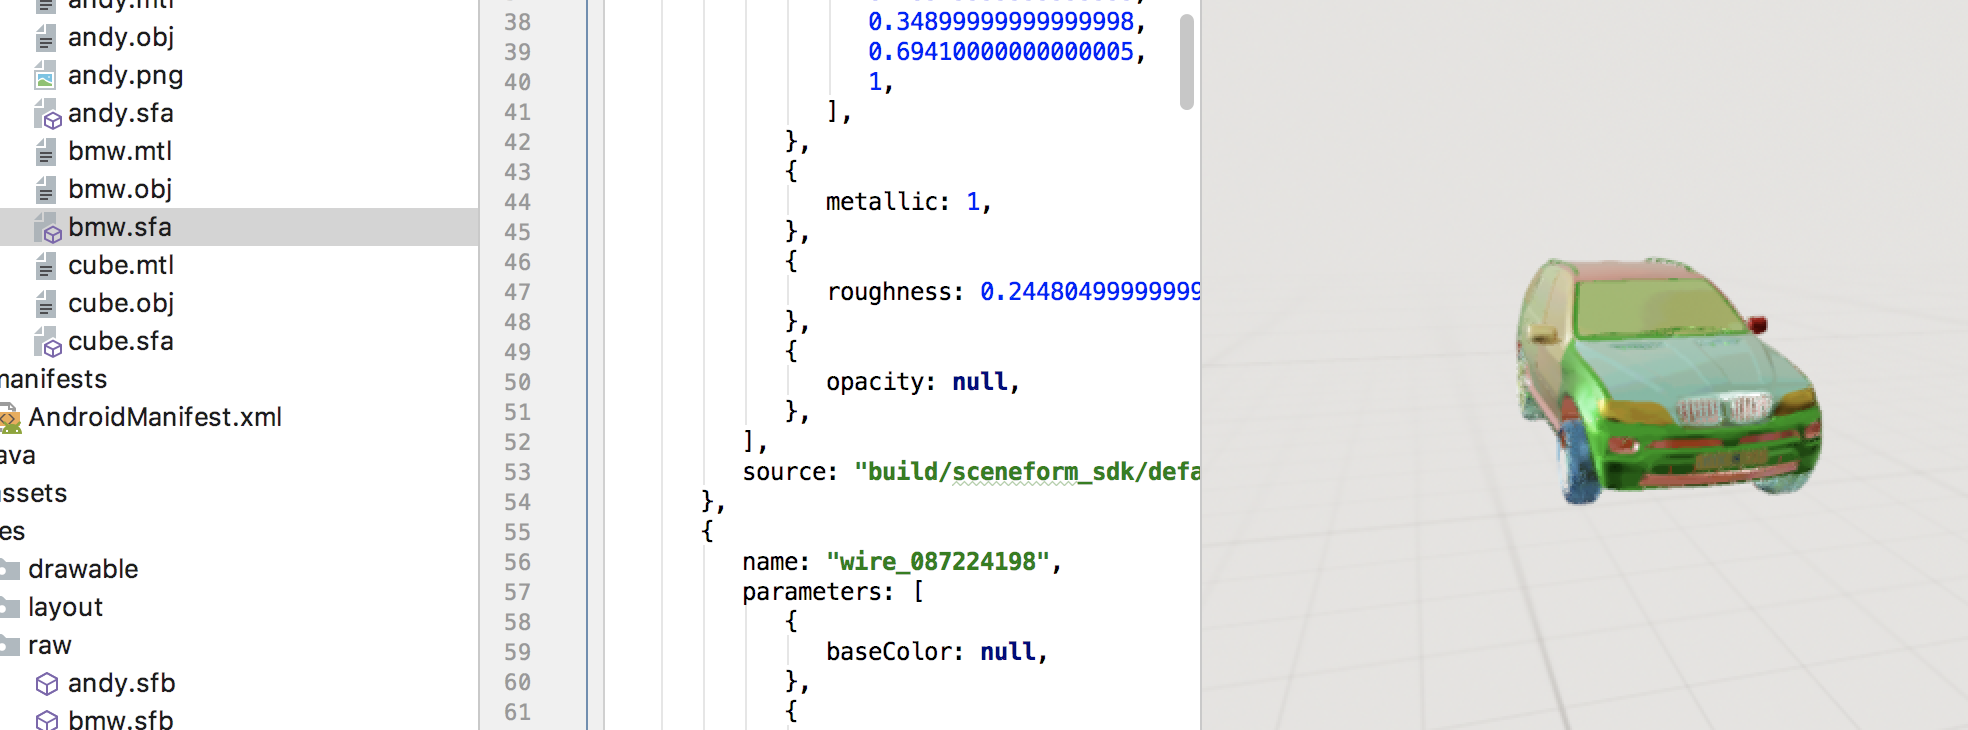
Sceneform has an Android Studio plugin which assists in importing 3D models, adding them to the gradle file, and providing a preview of the model.

You can install this by selecting Preferences from Android Studio, then the plugins section and browse repositories for “Google Sceneform Tools (Beta)”

center 60%

4/14

Sampledata Folder

Uri.parse("model.sfb")

An example 3D model of andy can be downloaded here: Andy Model

5/14

Loading a Model in Code

To load a 3D model into the Scene from a file Sceneform provides the class ModelRenderable. Loading is done in the following steps:

ModelRenderable.builder()
        .setSource(this, R.raw.mymodel)
        .build()
        .thenAccept(renderable -> myModelRenderable = renderable);
6/14

Loading a View in Code

Next to loading 3D models, it is also possible to load View components into the 3D space. Sceneform provides the class ViewRenderablefor this. It is used exactly the same way as the ModelRenderable. The only difference is that you load a View that is defined in a Layout instead of a 3D model file:

ViewRenderable.builder()
              .setView(this, R.layout.myview)
              .build()
              .thenAccept(renderable -> myViewRenderable = renderable);
7/14

Creating Objects Programmatically

Sceneform provides different classes for creating 3D models in code:

The following example create a Sphere with a red color, by creating an opaque red material and applying it to a shape that is created using the ShapeFactory:

MaterialFactory.makeOpaqueWithColor(this, new Color(android.graphics.Color.RED))
              .thenAccept(
                      material -> {
                          redSphereRenderable =
                                  ShapeFactory.makeSphere(0.1f, new Vector3(0.0f, 0.15f, 0.0f), material); });
8/14

Creating an AR Scene

When creating an AR Scene, it is required to access the camera in order to detect planes and render 3D models into the view. Implementing this without Sceneform would make it necessary to request the camera permission programmatically. Sceneform helps us with this by providing the ARFragment class. This is a fragment that can easily be embedded in your layout file like this:

<fragment android:name="com.google.ar.sceneform.ux.ArFragment"
      android:id="@+id/ux_fragment"
      android:layout_width="match_parent"
      android:layout_height="match_parent" />
9/14

Creating an AR Scene

The ARFragment allows us to get access to the ARSceneView that renders the objects on the screen. The ARSceneView class uses ARCore for rendering. It is retrieved via the ARFragment like shown here:

arFragment = (ArFragment) getSupportFragmentManager().findFragmentById(R.id.ux_fragment);

ArSceneView arSceneView = arFragment.getArSceneView();
10/14

Placing 3D objects in the scene - Anchor

In order to place an 3D object in the scene, it needs a fixed location in the 3D space. ARCore provides the Anchorclass which describes a fixed location and orientation in the real world. To stay at a fixed location in physical space, the numerical description of this position will update as ARCore’s understanding of the space improves.

To create an Anchor instance there are multiple options available, two examples are:

A Session manages AR system state and handles the session lifecycle. This class is the main entry point to ARCore API. Retrieve an instance from the ARSceneView by calling getSession()

You will need to provide a Pose when creating an Anchor object. A Pose defines the location and orientation of an object in the real world.

An easy way to retrieve a Pose instance is by using the HitResult class. A HitResult Defines an intersection between a ray and estimated real-world geometry.

11/14

Placing 3D objects in the scene - HitResult

In order to retrieve a HitResultwe can set an OnTapARPlaneListenerto our ARFragment. Now when the user taps on the scene a ray is cast into the real-world geometry and when the ray hits a Plane(a decription of a real-world planar surface - e.g. the dotted planes you see when you move your phone around) a Pose is created at the intersection.

Here is an example how to add the OnTapARPlaneListenerto the ARFragment:

arFragment.setOnTapArPlaneListener(
        (HitResult hitResult, Plane plane, MotionEvent motionEvent) -> {
            // now we have an HitResult instance that we can use to create an Anchor
        });

Here is how to create an Anchor within the OnTapArPlaneListener:

 Anchor anchor = hitResult.createAnchor();
12/14

Placing 3D objects in the scene - Node

Now that we have an Anchor instance, we can render an 3D object at that position in the real-world. Objects are modelled by in Sceneform by using the Node class.

A Node can hold a Renderable 3D object and is an abstract representation of objects in the 3D space.

Each node can have an arbitrary number of child nodes and one parent. The parent may be another node, or the scene.

A node that is created and positioned within the scene based on an Anchor is represented by the AnchorNode class. Here is how to create this and add it to the ARScene:

AnchorNode anchorNode = new AnchorNode(anchor);
anchorNode.setParent(arFragment.getArSceneView().getScene());
13/14

Placing 3D objects in the scene - TransformableNode

Now we can add set a renderable to our AnchorNodeif we wish by calling the setRenderable() method. But in order to be able to select, translate, rotate and scale our node using gestures, Sceneform provides the TransformableNode class. An instance is create like shown (andy is the name of the 3D model of the Android robot):

TransformableNode andy = new TransformableNode(arFragment.getTransformationSystem());
andy.setParent(anchorNode);

The TransformableNode requires a TransformationSystem as parameter. This class coordinates which node is currently selected and detects various gestures.

onTouch(HitTestResult, MotionEvent) must be called for gestures to be detected. By default, this is done automatically by ArFragment.

Here an example of how to detect touches on our “Andy” TransformableNode:

andy.setOnTapListener(new Node.OnTapListener() {
                  @Override
                  public void onTap(HitTestResult hitTestResult, MotionEvent motionEvent) {
                      // do what ever you want when andy is tapped
                  }
              });
14/14

Placing 3D objects in the scene - Renderable

Last but not least we can define which 3D model shall be rendered on the Node by calling

andy.setRenderable(andyRenderable);

Now the 3D object should be rendered in the scene and you can select, drag and rotate the model. Have fun!