Please conduct the following tasks. For implementation details you can refer to the lecture slides or the Apple ARKit documentation website. Please do not hesitate to ask me if you have any questions. Under „Tip“ you can find some hints for the task. The „Checklist“ specifies what should happen when your implementation is correct.
In this assignment you will create a simple template based ARKit app that shows an airplane.
To create an ARKit app, you require the latest Xcode or ideally version 11.2.1 or later with support for ARKit 3.0.
ARKit apps are not yet supported by the iOS simulator, thus you need an iPhone or iPad to test your app.
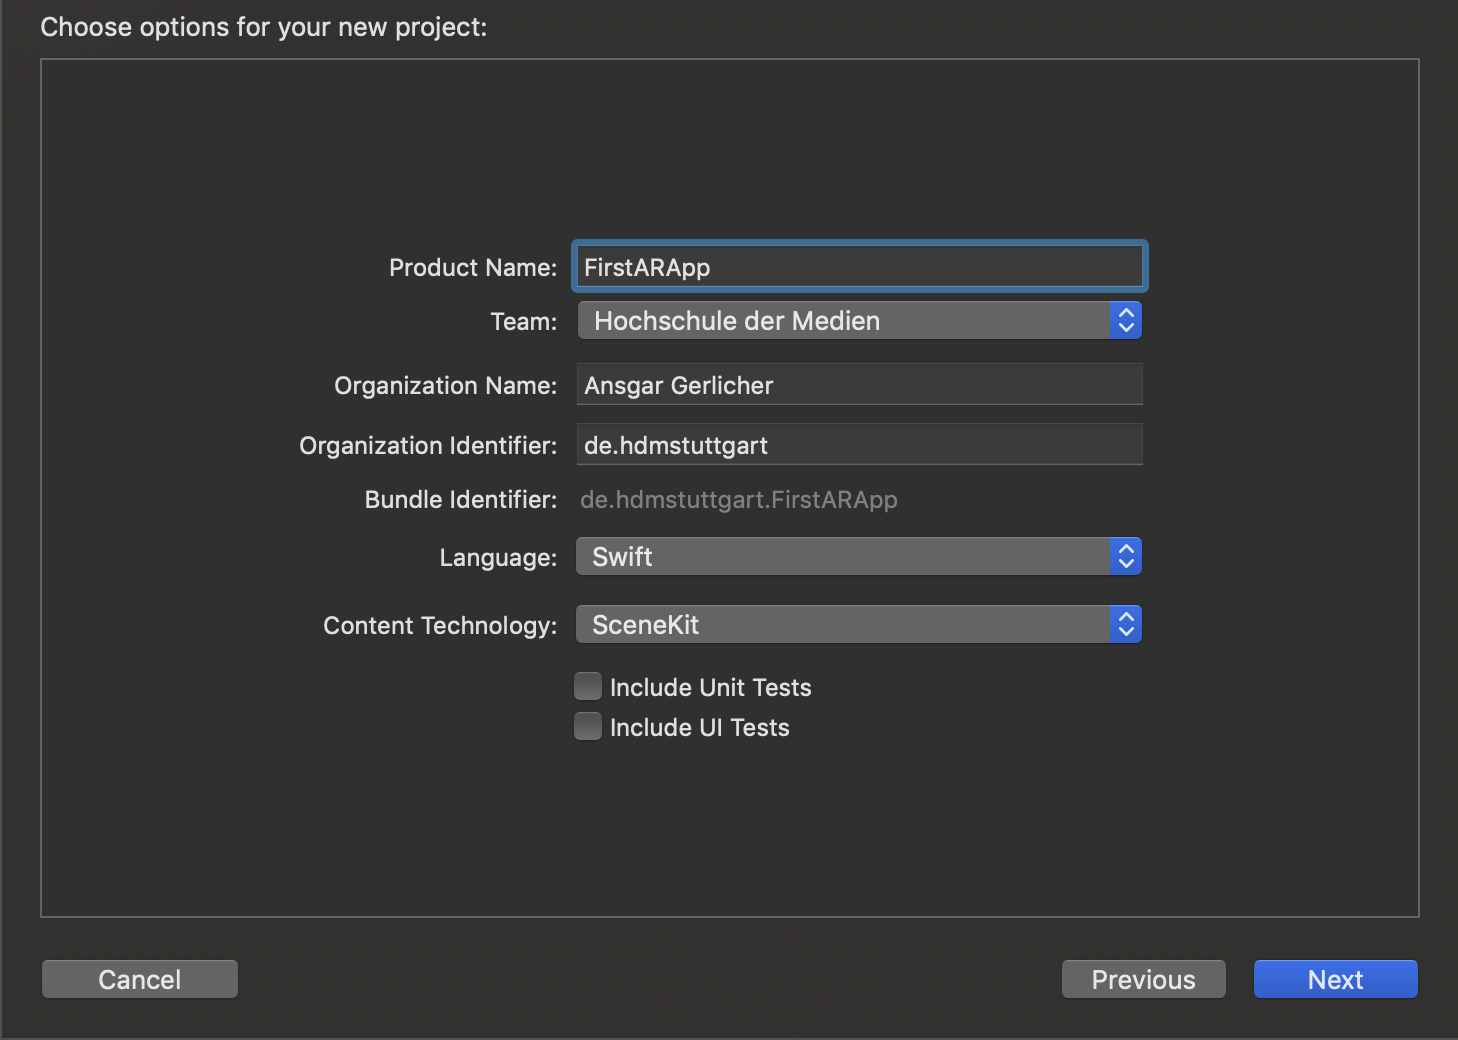
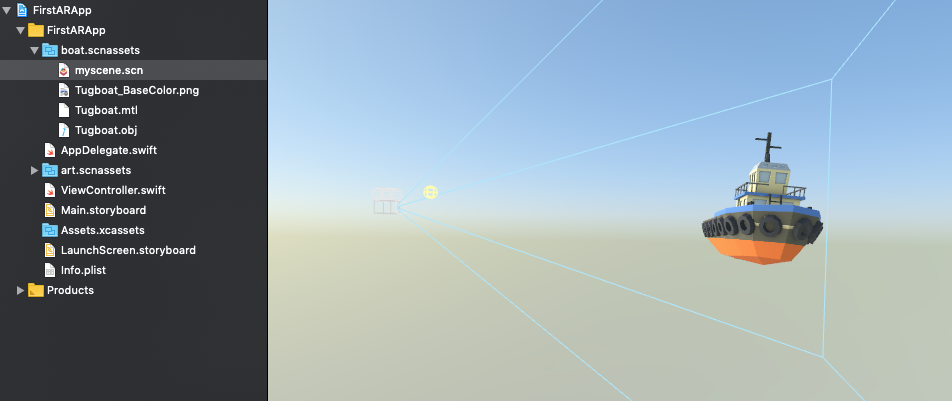
Now start Xcode and create a new Augmented Reality App. In the following dialogue give it a “Product Name” and select as language “Swift” and as content technology “SceneKit”.
Clickt on “Next” and store the project to your desktop (or any other locations that suits you).
Next connect your iPhone with your Mac and run the app on it. Voilá: your first ARKit app, as simple as that!
When you move your phone around you should see something similar to this.
Checklist | Check? |
---|---|
The app runs on the phone showing the airplane. | ☑️ |
We created the project with SceneKit as content technology. This makes it very easy to add our own 3D models to the app.
In order to do this, create a new SceneKit Asset Catalog to your project by selecting “File->New->File…” in the Xcode menu. Then choose the SceneKit Catalog template from the “Resource” section as shown below.
After you named the assets catalog, right-click on it and add a scene file (with the ending .scn) by selecting “New File” in the popup-dialog. Now you have a SceneKit scene, that you can load and add content to it.
The first thing you could add to the scene is an omni light. Do this by selecting the “Omni light” from the object list and drag it to the scene. Turn the scene so you can see the position of the camera (the camera is alway there by default) and position the light somewhere reasonable. If the camera is not visible, you might need to click on the “eye”-symbol (bottom right on the screen) and tick the box “Cameras” under “Visibility”. The result should look something like this:
Next add any other object, e.g. a box model etc. If you like you can also download an 3D model from Poly as ojb file and drag and drop it into your projects SceneKit asset catalog. Then add it to the scene. You might need to change the scale of the object using the “Transforms” menu on the right side in the “Node Inspector”. The picture below shows a boat object added to the scene:
If you only add the .obj file the model will have no material (color, etc.). So if available also add the materials.mtl
(ending: mtl) to your scene to give the object some color.
Loading the new scene in your app is very simple. Open the ViewController.swift file and edit the line where the scene is loaded correspondingly, such as:
// Create a new scene
let scene = SCNScene(named: "boat.scnassets/myscene.scn")!
When you now start the app, you should see something like this:
Checklist | Check? |
---|---|
The app runs on the phone showing the new 3D model. | ☑️ |